

You can’t stand the tiles in your bathroom
bathroom
? Dirty joints, detachments… Would you like a more modern, designer covering?
But you’re not thrilled about undertaking major renovation work in this living space.
Waxed concrete meets all your criteria, but one important question remains: Can waxed concrete be laid over existing tiles? The answer is yes. In fact, it’s frequently used indoors on floors, or on bathroom or kitchen walls.
Marius Aurenti waxed concrete can be applied directly over old, sound tiles, provided the substrate has been properly prepared. Here are 12 essential tips if you want to lay waxed concrete over tiles in any room of your home.
Waxed concrete on tiled floors

Tip 1: Enlarge the space
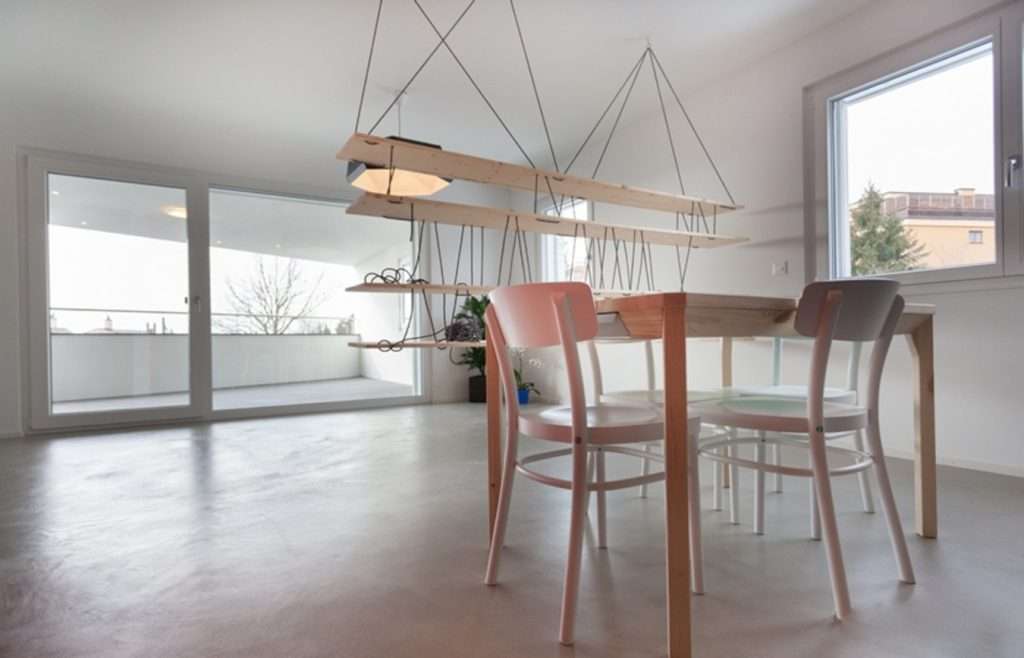
A home in waxed concrete looks larger, and spaces communicate better with one another.
Everyone dreams of finally being able to eliminate those ubiquitous joints that are sources of clogging and divide up space.
Visually, the joints are like a wire mesh placed in front of our view. Removing them frees up the visual space, making it soft and pleasant!
Waxed concrete over living room floor tiles, for example, creates a beautiful visual continuity, with no expansion joints.
In a bathroom or kitchen, the absence of joints makes it easy to clean.
Tip 2: Avoid dirty jobsites
Thanks to its extreme thinness (2 to 3 mm thick), waxed concrete is discreet over existing tiles, creating no extra thickness. Like no other material, it allows you to renovate without changing heights. No need for thresholds, no need to plane doors, at 2 millimeters all-in, it’s the thinnest coating available.
If the tiles are sound, applying them over the existing surface without removing them reduces noise and dust pollution. It’s important to know, however, that this type of application on tiles requires professional know-how, proper diagnosis and preparation.
Tip 3: Get professional advice for your underfloor heating system
Can waxed concrete be applied to tiles with underfloor heating?
Marius Aurenti waxed concrete has been tested and is perfectly compatible with low-temperature underfloor heating. To ensure the success of your project, Marius Aurenti’s advisors will support and advise you throughout.
Unlike tiles, a 2 mm thick waxed concrete does not reduce heating efficiency . Extremely resistant, Marius Aurenti waxed concrete is guaranteed for 15 years without cracking.

Waxed concrete over tiles in the kitchen

Tip 4: Use a protective wax or varnish
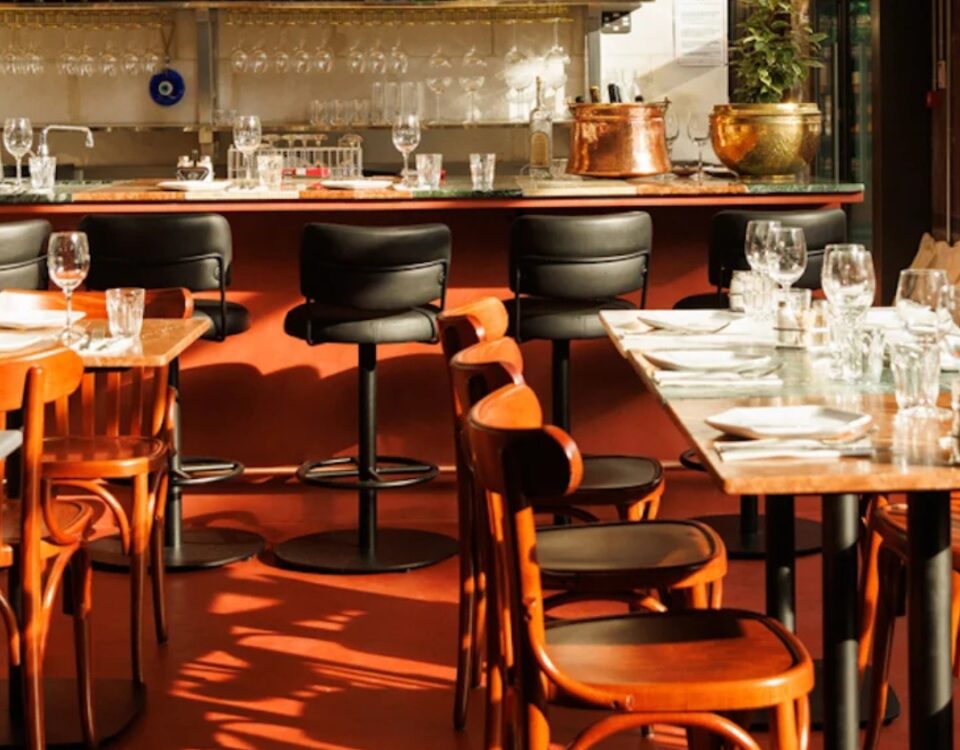
Have you seen enough of your kitchen tiles? Whether it covers a floor, wall, credenza or worktop, if it adheres well and has no defects, it’s perfectly possible to apply waxed concrete to your kitchen tiles. Marius Aurenti waxed concrete covers and protects all your horizontal and vertical surfaces.
Extremely resistant to impact and stains thanks to its high-performance protection systems, it is suitable for floors as well as
worktops
and walls. However, care must be taken not to damage the surface, for example with hot oils on credenzas, or with pure chemical cleaners and products…
Tip 5: Give free rein to your creative spirit
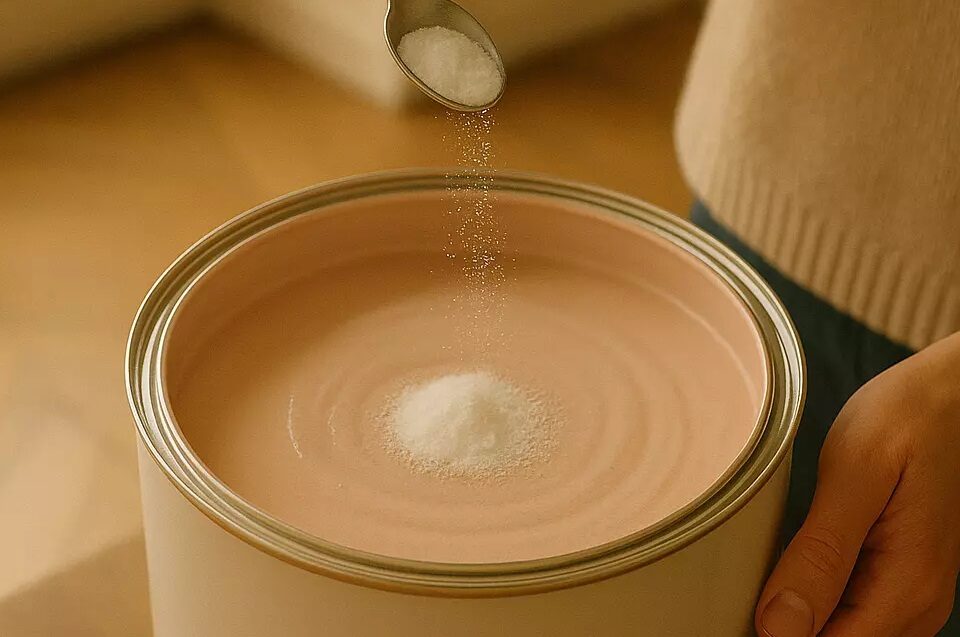
The Iris color chart, developed by Marius Aurenti, allows waxed concrete to be harmoniously matched with Marius Aurenti paint colors, with a palette of 87 shades for waxed concrete on tiles.
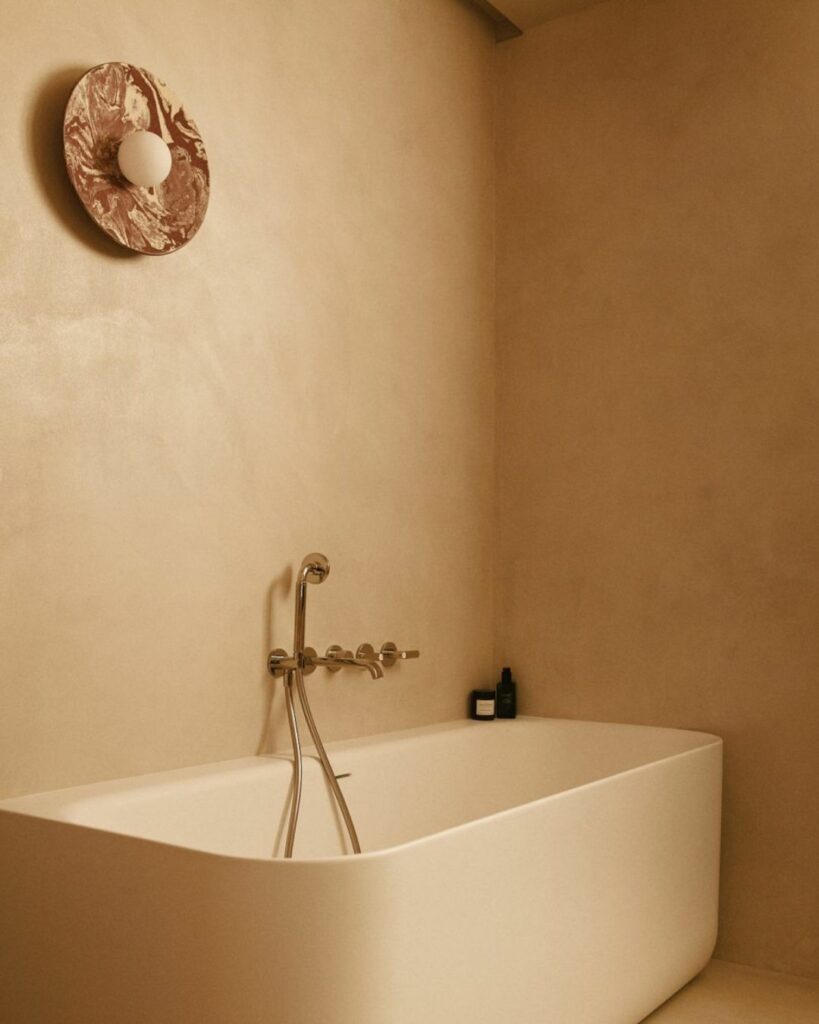
Waxed concrete over bathroom tiles

Tip 6: Renovate from A to Z
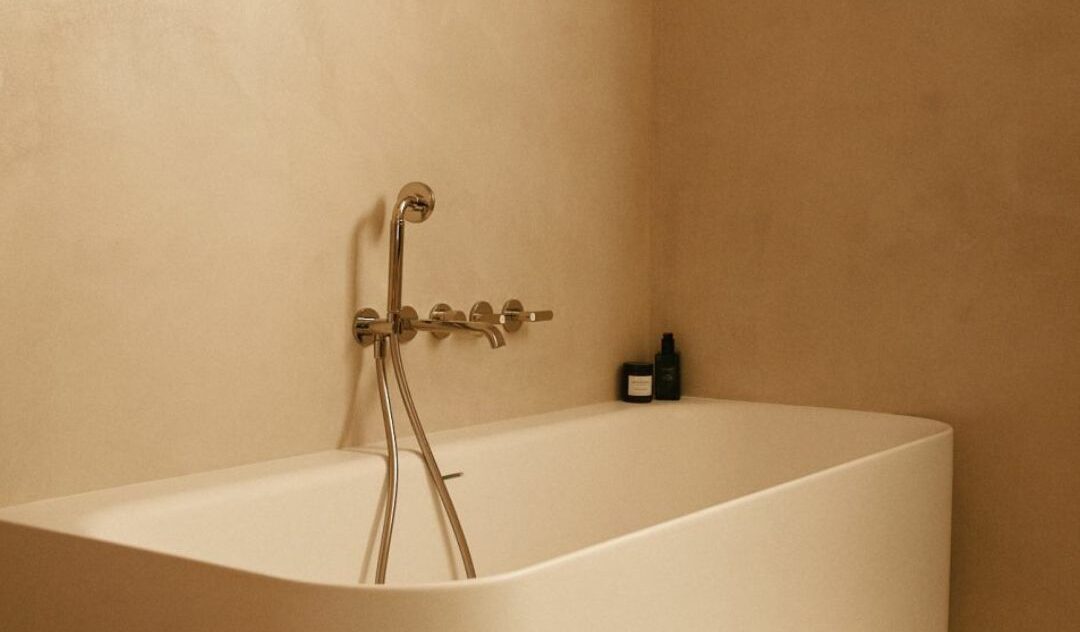
Can I apply waxed concrete over bathroom tiles? Waxed concrete transforms your bathroom floor, walls and furniture. It can be used to create basins and vanity tops adapted to your space and in the color of your choice, as well as to create magnificent walk-in showers.
On a tiled shower or bath wall in good condition, waxed concrete can be applied directly, without removal. It unifies the substrate without expansion joints, creating a beautiful continuity between floor and walls.
Tip 7: Choose the Marius Aurenti + Wedi solution
Wedi shower trays, designed to receive a waxed concrete finish, are ideal for Italian-style showers. The system is guaranteed perfectly watertight. Specific preparation with our bonding primers is necessary for this type of work. The waxed concrete is then protected with MA’s varnishes, suitable for damp rooms.
Wedi and MA’s are exclusive brand partners for the success of your waxed concrete bathrooms.
Waxed concrete over bathroom tiles

Tip 8: Keep it simple
Waxed concrete is one of the simplest stair renovation solutions. Existing staircases covered with adherent tiles can be covered without prior removal. Renovation is therefore quick, generates no waste or dust, and is not noisy.
Waxed concrete can be applied to all surfaces of a tiled staircase, adapting to the shape of your staircase: treads, risers, stringers, edges and underside. Its hardness makes it resistant to impact and ensures that it stays in place over time.
Tip 9: Don’t neglect the stair nosing
The treatment of the stair nosing is important. If use is not too intense, the corner can be finished in waxed concrete. The steps then have a very uniform appearance, with a single material.
It’s a pure, aesthetically pleasing choice that ensures simplicity and graphics in the space. Existing wooden thresholds can be retained. They play a technical and aesthetic role that works well in older buildings.
The contrast of materials is emphasized, giving character to the staircase.
For added protection, thresholds can be integrated in the form of stainless steel or aluminum metal corner strips to withstand knocks on the edges.
Modern materials combine to reinforce edges, for example in hotels or public areas. Similarly, podotactile studs for the visually impaired or contrast strips to comply with current ERP standards can be integrated.
Tip 10: Avoid slipperiness
Waxed concrete can be used to create a certain granularity to prevent slippery treads, particularly on steam room stairs or stairs used outdoors on wet floors. Marius Aurenti waxed concrete complies perfectly with current standards.

Waxed concrete over outdoor tiling

Tip 11: Spruce up your exterior
Because of the wide variations in temperature and humidity outdoors, Marius Aurenti does not apply waxed concrete to old outdoor tiles. Waterproofing is not always reliable, and cannot guarantee tile adhesion. For outdoor use, we recommend removing the tiles and reverting to the rough slab on which the outdoor waxed concrete will be applied.
Marius Aurenti exterior waxed concrete is available in 20 UV-resistant mineral shades. It can cover a terrace floor, a driveway that can be driven over with a light vehicle, a pool deck lined with designer furniture, etc. It is protected with a water- and oil-repellent coating.
Technical aspects of waxed concrete over tiles
Tip 12: diagnose your soil
Before applying waxed concrete to tiled surfaces, it’s a good idea to diagnose the tiles and determine their state of adhesion using a test pattern. To do this, simply “tap” it with a wooden handle, for example, to see if it sounds “hollow”. When an old tile is partially detached, the tiles are removed and re-glued.
If they are too damaged, cracked or missing, they should be filled with epoxy mortar. If more than 10% of the surface is hollow, missing or detached, the risks of applying to such a substrate are too high. In this case, the entire floor must be removed.
It is also important to check for the presence of water, which can damage the work in progress or at a later date. Moisture tests will be carried out, and basements, perimeter walls, etc. will be inspected. The maximum permissible moisture content of the substrate is 4%.
It’s also important to spot the cracks that sometimes run through a series of tiles.
Note that these cracks may be in the joints and therefore less visible. Covering “active” cracks means taking the risk that they will reappear if the house continues to move. So it’s best to give them a “workspace” by marking a joint there. Some craftsmen successfully weave cracks using specific systems, as is done on facades (no official technical opinion on these techniques).
The installation of waxed concrete does not require any specific joints on tiled floors, even on underfloor heating, unless existing joints are respected, e.g. peripheral joints, expansion joints, breaks, thresholds, or a change of material.
Once the diagnosis has been made, the floor must be prepared to ensure good adhesion. This is achieved by sanding with a diamond disc and applying a sandblasted epoxy mortar that will ensure the waxed concrete adheres and prevent capillary rise as an impermeable barrier.
EPX2 is used on floors – or EPX2 turbo for low-temperature or time-restricted jobs – while EPXC primer is suitable for wall applications.
MA’s waxed concrete system always includes an epoxy primer. After these preliminary preparations, the concrete is laid over the primer in two or three coats, followed by the finishing touches. Our training courses will enable you to master these implementations so that you can provide a perfect diagnosis.
Watch our video tutorial on preparing a tiled surface:
Waxed concrete color chart
