

Marius Aurenti Wall Concrete
Dress Your Walls in Concrete
Decorative, original and durable, wall concrete is a specific form of microcement designed for interior wall decoration, whether in a bedroom, living room or kitchen. Made from cement, sand and mineral pigments, wall concrete can receive different types of finishing products, such as stain or varnish, depending on its intended use.
Wall concrete is a different material from “Classic” microcement, which is mainly used for floors. The wall version is actually a finishing plaster, with the advantage of being workable over large surfaces.
Wall concrete is also much more affordable, as it can be applied in a thin layer over a primer before adding a protective coat. It therefore offers a clear economic advantage.
In general, wall concrete is applied in a millimetre-thin coat over an existing substrate. This may be plasterboard or concrete block, a rougher cement surface, or even tiles. In all cases, the substrate must be carefully prepared to ensure an even result.
And if you are wondering whether an entire room can be finished in wall concrete, including the ceiling, the answer is yes.
The Marius Aurenti Wall Concrete Range
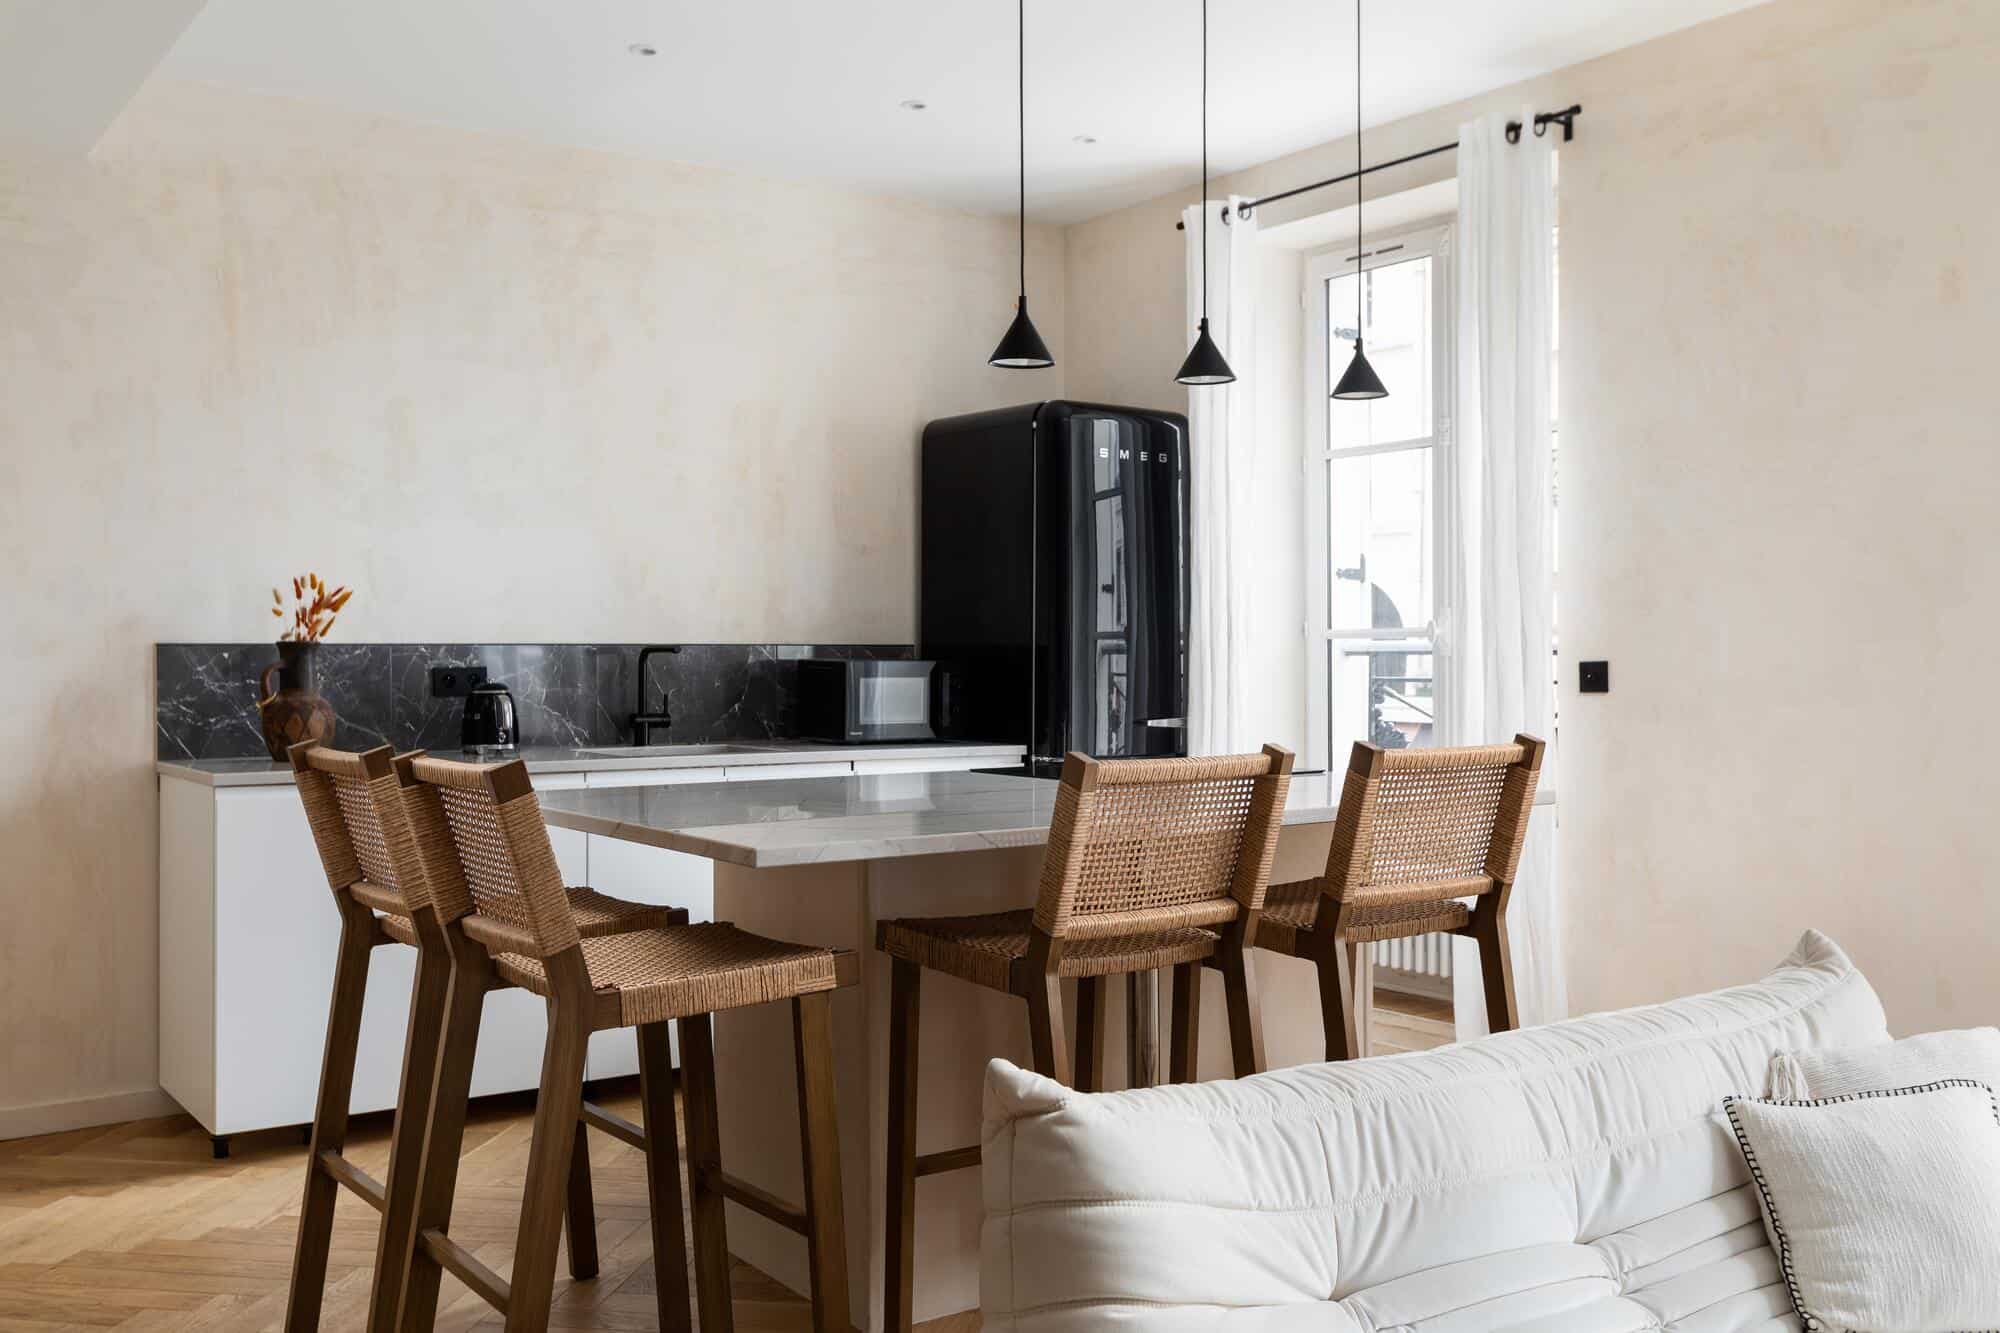
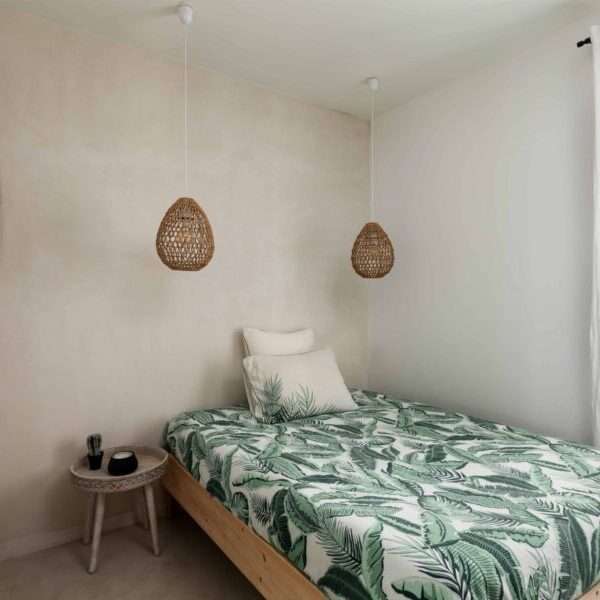
With its deep matt finish and natural colours, wall concrete is a highly contemporary material for dressing a living room or bedroom, or turning a boutique into a showcase for its products. It responds beautifully to other materials — wood, marble, glass, metal, ceramic, earthenware — while bringing a mineral decorative touch.
Textured or smooth, wall concrete leaves room for the craftsman’s creativity in the service of design. Whether new or weathered by time, wall concrete is both unique and multifaceted.
Wall Concrete
Coloured through the material, it offers a wide variety of colours and finishes to suit every decorative style: for example, a light grey textured concrete wall with an industrial look, or a smooth concrete wall in a pastel pink or terracotta shade, evoking the warmth and authenticity of the earth.
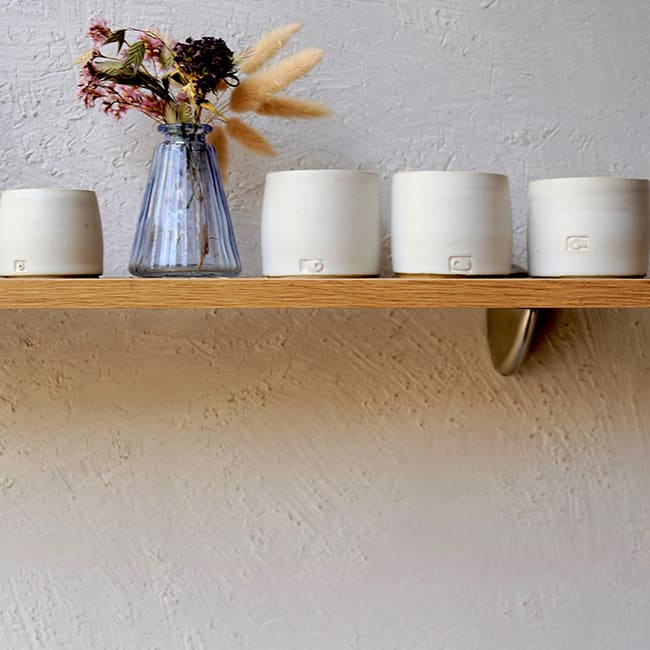
“Classic” Wall Concrete
“Classic” Wall Concrete offers a smoother finish, soft like velvet, fine and sensual to the touch, with a cloudy, patinated and elegant appearance.
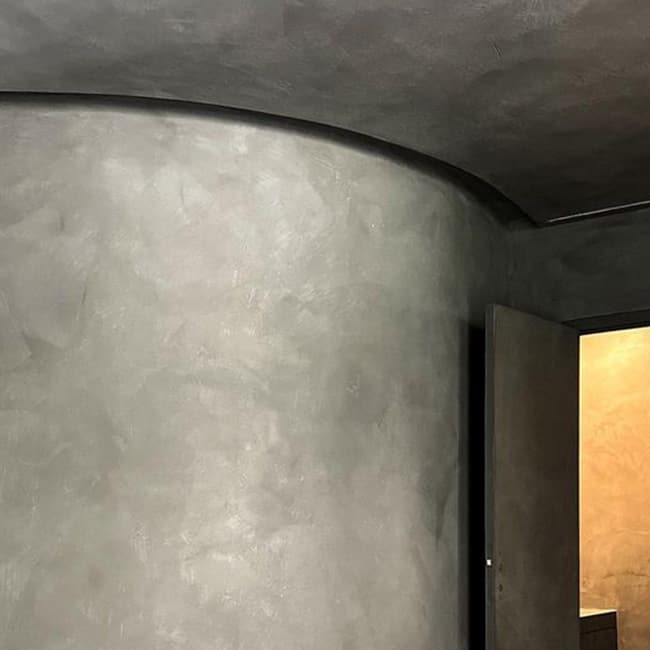
“Texture” Wall Concrete
“Texture” Wall Concrete provides a finish close to traditional raw board-formed concrete: irregular, full of roughness and small cavities.
Wall Concrete Colours and Varnish
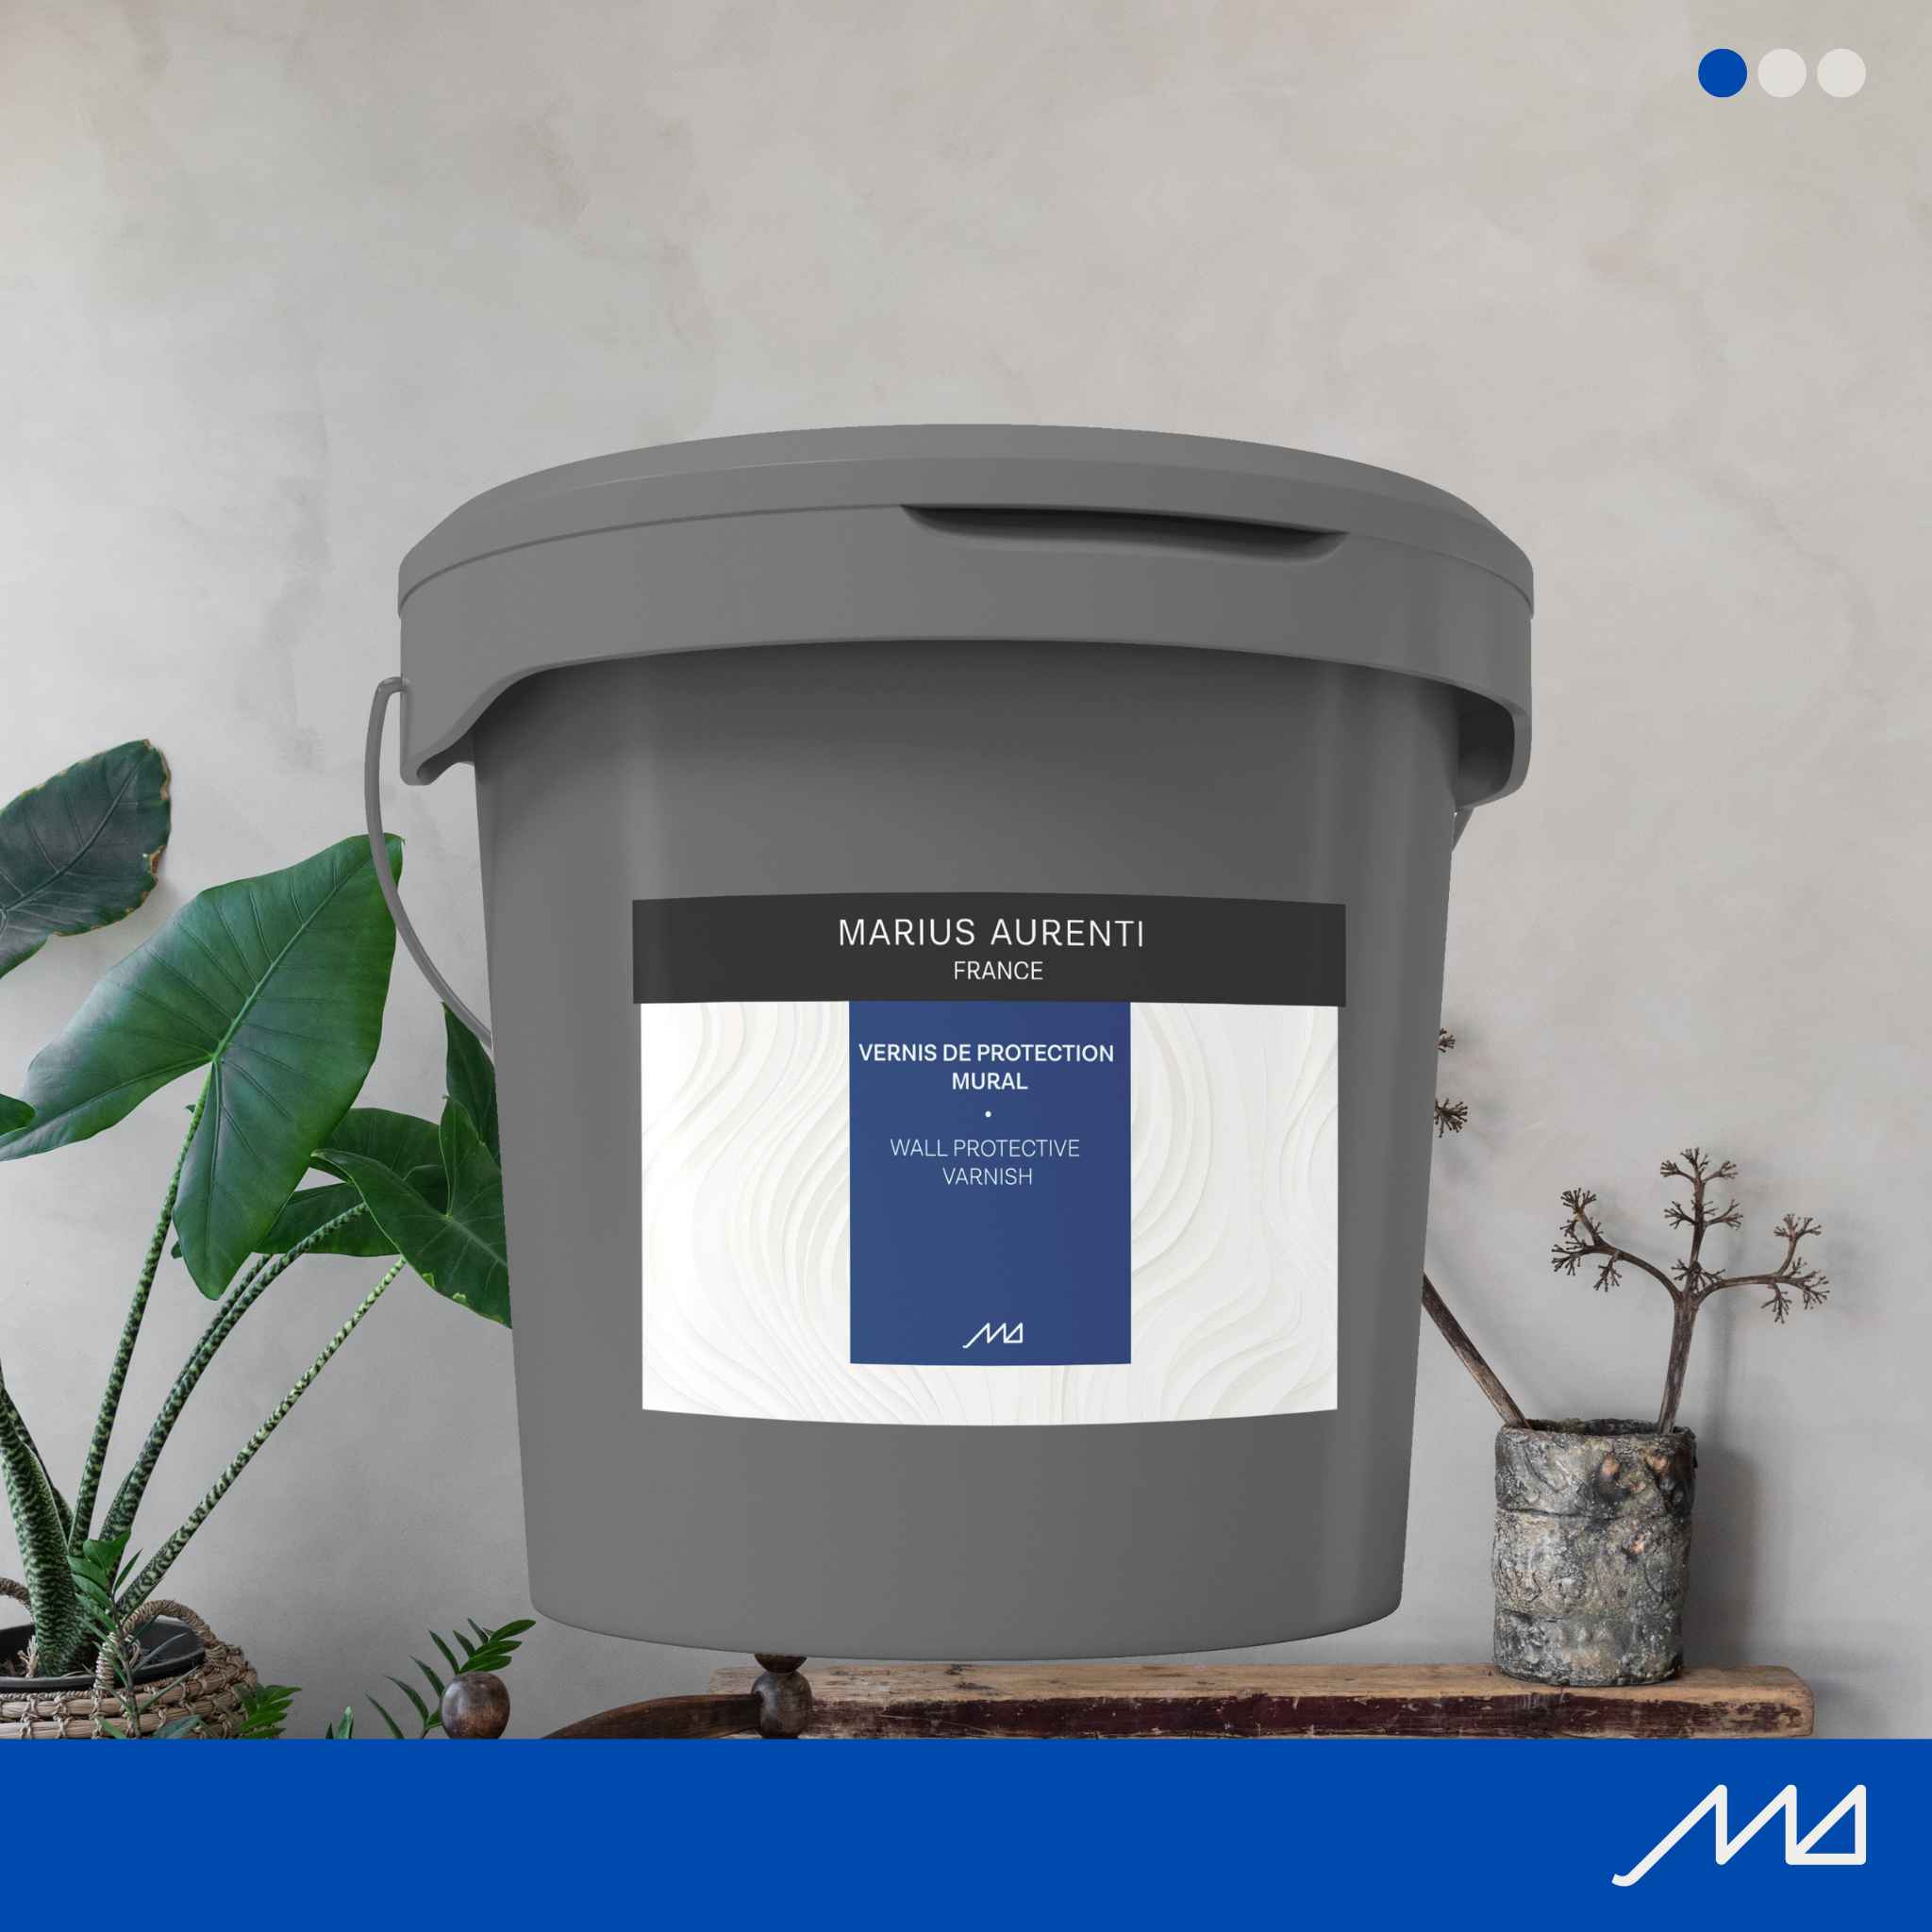
Marius Aurenti Wall Concrete is available in the 87 colours of the Iris colour chart. In high-traffic areas, it can be protected with Marius Aurenti’s high-performance wall varnish or IF3 MA’s fixative, available in matt, silky matt or glossy finishes.
It is an economical material, ideal for very large commercial spaces, and offers a long open time, allowing for great continuity during application.
All details are available in the technical data sheets. Order your samples and colour charts from the Material Library.
Wall Concrete in the Home
Wall Concrete on a Bedroom or Living Room Wall
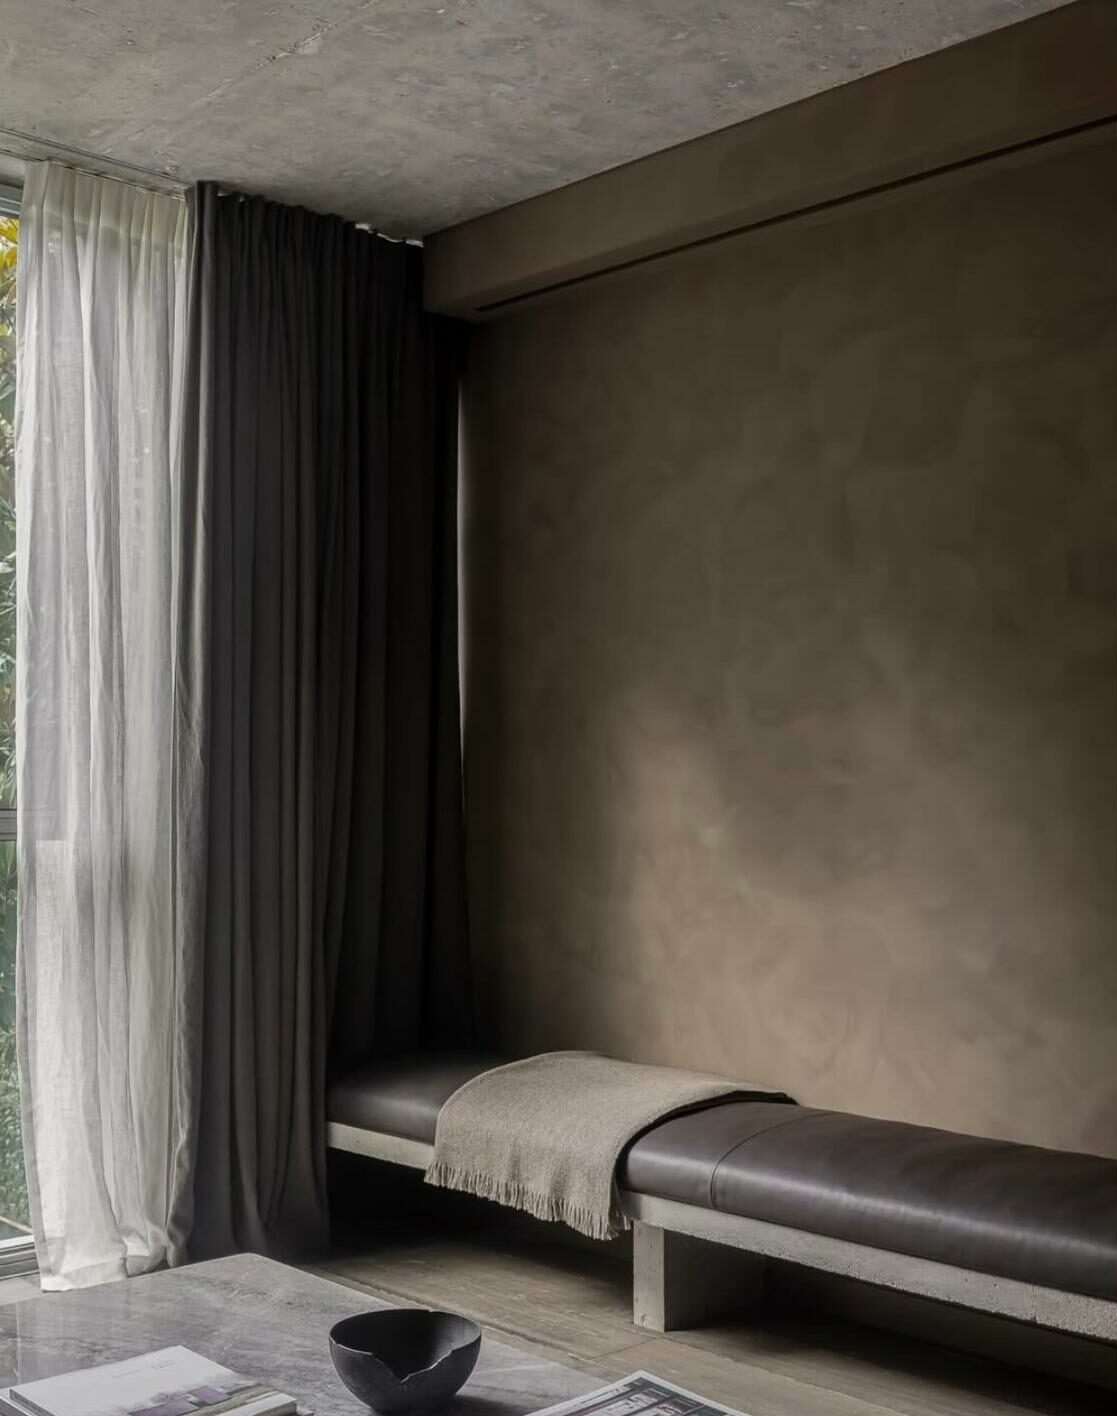
A trendy and modern material, wall concrete adds a touch of elegance and sophistication to your interior walls in living spaces, including your bedroom and living room.
Durable, wall concrete is easy to maintain and clean, making it a perfect choice for the walls of your living room or bedroom.
FAQ on Wall Concrete
Applying microcement to a plasterboard wall
Microcement can be applied to a plasterboard wall without any problem. Plasterboard is also known as drywall or gypsum board, including BA10, BA13, BA15, BA18, BA25, etc.
Plasterboard has the advantage of being a perfectly flat surface, but the joints interrupt this surface and may create slight relief or differences in appearance as the coating dries. Since the layer of microcement or wall concrete is only millimetres thick, any underlying relief or difference in moisture absorption — particularly around the joints between boards — may be reflected on the surface.
To reduce the visibility of the joints, flatness strips can be applied. Preferably, however, a full-surface skim coat should be applied to fill imperfections and even out the surface.
This skim coat is then sanded very lightly before applying a white wall primer, followed by the wall concrete or lime finish.

Wall Concrete
87-Colour Chart for Marius Aurenti Wall Concrete


Technical Data Sheets (PDF Version)
Technical Data Sheets (Web Version)
AREAS OF USE
Decorative cement- and mineral pigment-based coating for interior walls.COMPOSITION
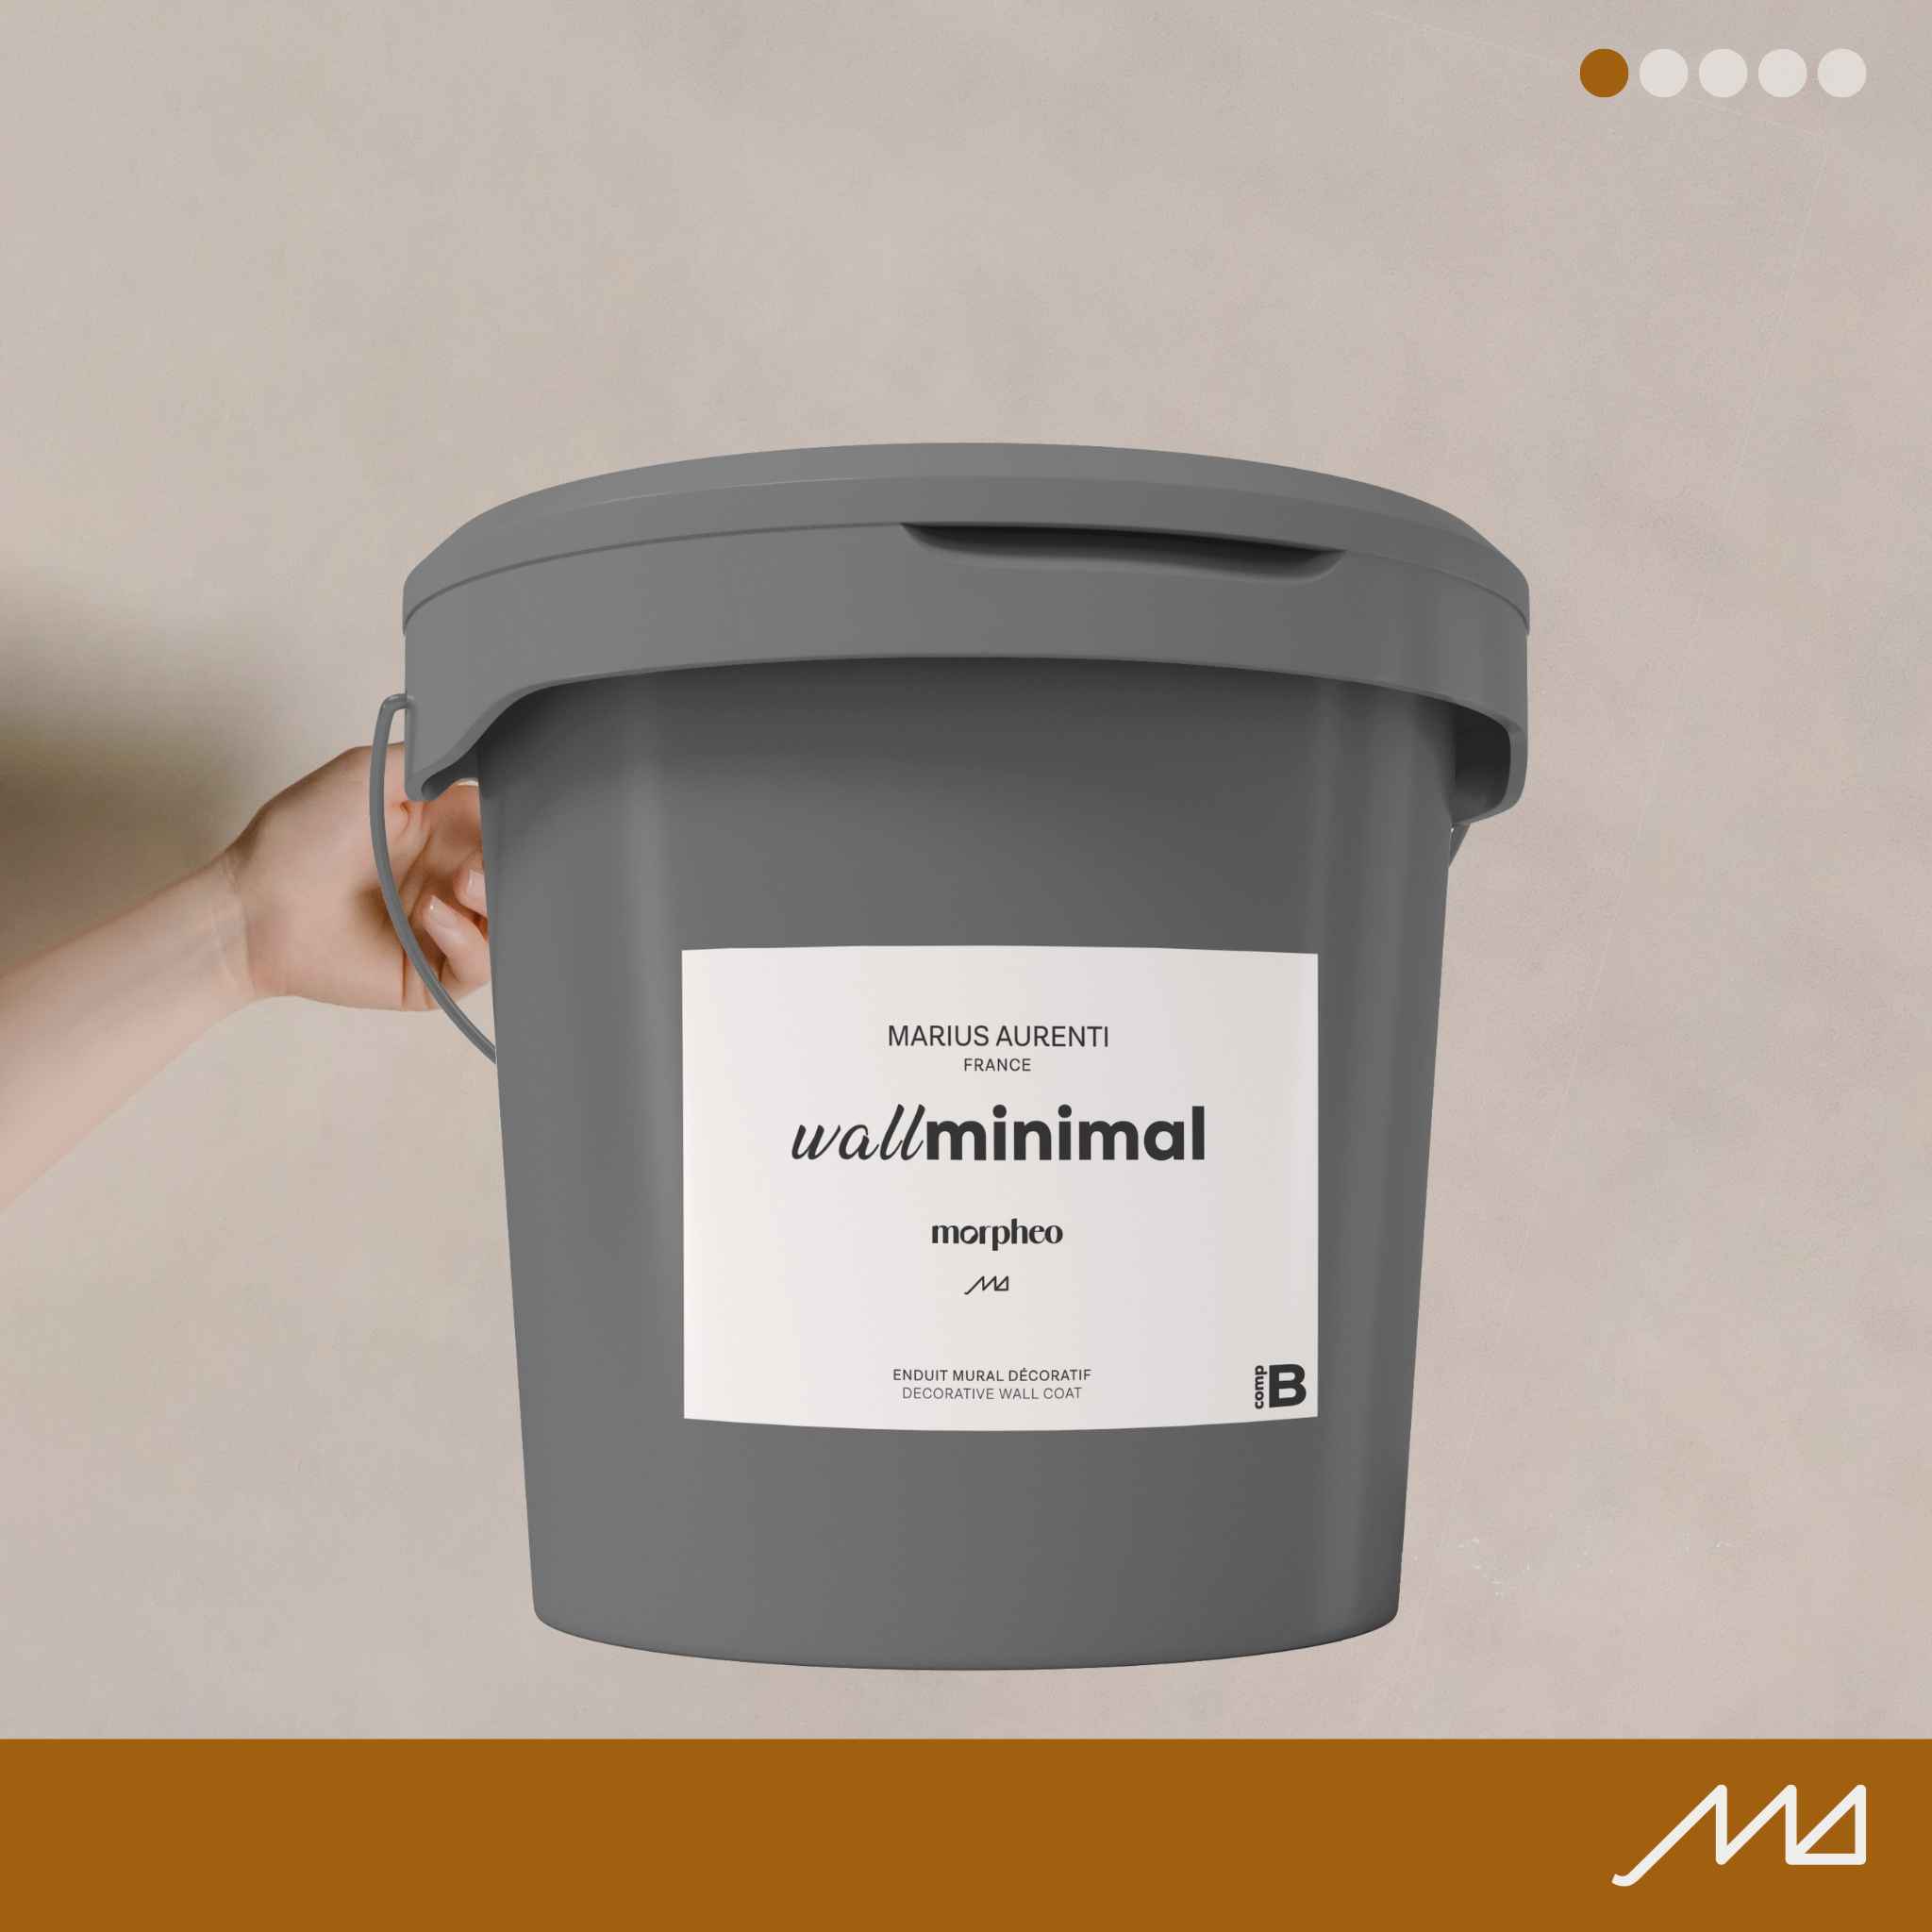
Cement-based plaster.Component A: paste
Component B: powder
+ Blush Mineral Colour Concentrate
PROPERTIES
Raw concrete appearance, deep matt finish.Easy application and long open time.
PACKAGING
7.5 kg kit — 5 kg of Component A + 2.5 kg of Component B — + 1 × 1.2 kg Blush Mineral Colour Concentrate to cover an average surface area of 9 m².15 kg kit — 10 kg of Component A + 5 kg of Component B — + 2 × 1.2 kg Blush Mineral Colour Concentrate to cover an average surface area of 17.5 m².
CONSUMPTION
1 kg/m² for 2 coats.APPLICATION
SUBSTRATE AND SUBSTRATE PREPARATION
This coating is reserved exclusively for interior walls, excluding areas exposed to water splashes.Plaster and plasterboard, cement, aerated concrete, adherent paints and coatings.
Substrates must be mechanically sanded if necessary, sound, dry and clean — in particular free from grease stains, dust and any non-adherent parts.
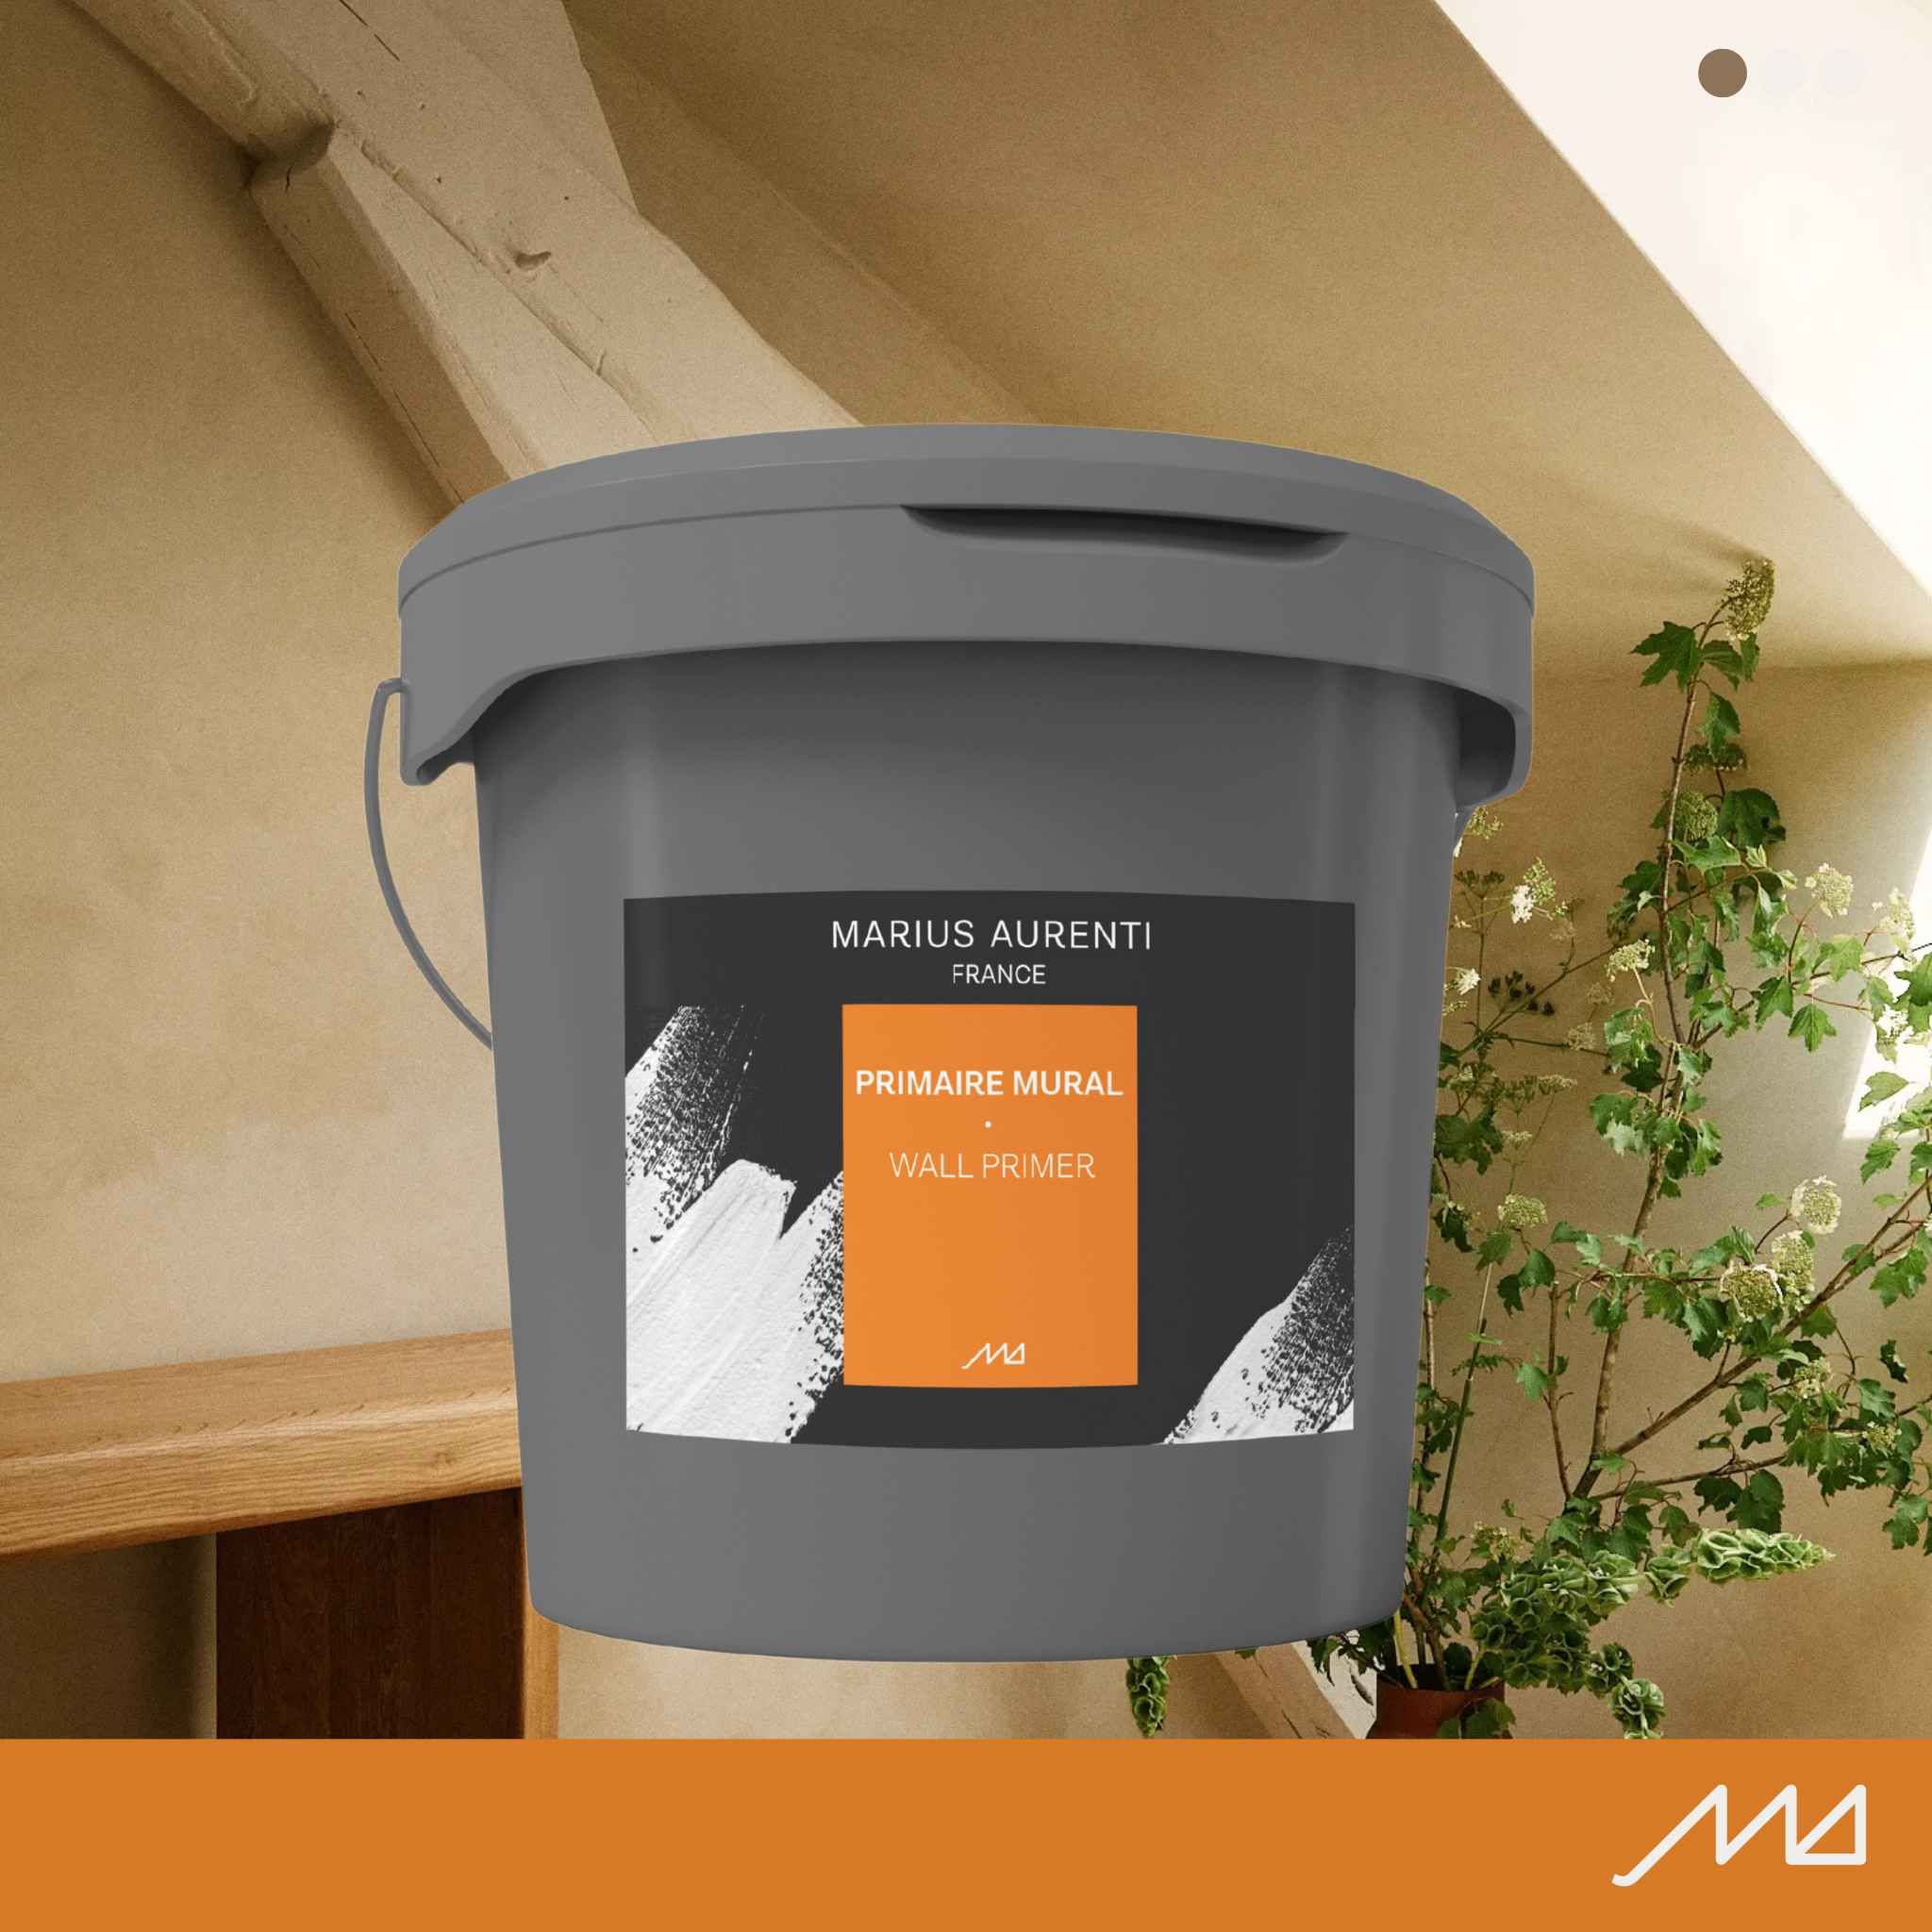
Substrates are primed with Marius Aurenti Wall Primer to obtain mechanical adhesion and block the substrate.
Structured substrates and/or substrates with joints — render, bricks, concrete blocks, etc. — must be prepared with a levelling coat to prevent shadowing, then with Marius Aurenti Wall Primer.
APPLICATION CONDITIONS
| AIR AND SUBSTRATE TEMPERATURE | >5°C and <30°C — ideal temperature: >15°C and <20°C |
| RELATIVE AIR HUMIDITY | <80% |
| RELATIVE SUBSTRATE HUMIDITY | 4% maximum |
| APPLICATION OPEN TIME | 1 hour 30 minutes at 20°C |
APPLICATION TOOLS
Trowel or smoothing blade such as Parfaitliss 35 cm, or 200 mm stainless steel trowel and American knife.PREPARATION AND APPLICATION OF WALL CONCRETE
Step 1: Component B + Blush
- Roll the Component B bucket on the floor to aerate and soften the material before mixing.
- Open the Component B bucket and make a slight hollow in the centre of the base.
- Shake the BLUSH concentrate pot, open it and pour the entire contents into the hollow in the base.
- Hold the bucket in place with your feet and dry-mix the base and concentrate at low speed, using a double-turbine mixer such as Collomix. Be careful to avoid splashing material out of the bucket. Increase the speed gradually.
- Continue mixing with vertical and lateral movements, both straight and angled, to mix the contents perfectly. Pay particular attention to the edges and bottom of the pot so as not to miss these harder-to-mix areas. For the first mixes, we recommend pouring the mixed contents into a bucket of the same size to visually check the quality of the mix and remix if necessary. Mixing time must not be less than 1 minute.
Step 2: Component A + mixture
- Thoroughly homogenise Component A, then add the mixture — Component B + BLUSH concentrate.
- Mix until a homogeneous, lump-free mixture is obtained.
Apply 2 thin coats, playing with effects using the application tools to give the decoration a random appearance. Note that when applying the second coat, both the effects and the colour are intensified if strong pressure is applied to the tool. The wall varnish will make it possible to achieve the target colour, while also protecting the coating.
Raw finish: simply leave to dry. The shade will be light.
Velvety finish: float the coating with a slightly damp cement worker’s sponge to bring out the laitance. The aim of this finish is to achieve a very homogeneous overall appearance with little mottling.
Warning: the shade will be lightened by the use of water.
DRYING TIME AT 20°C AND 60% RELATIVE HUMIDITY
| BETWEEN 2 COATS | 4 hours |
| BEFORE WAX, PORE FILLER OR VARNISH | 3 days |
TOOL CLEANING
Tools should be cleaned with warm water after use.TECHNICAL CHARACTERISTICS AND PERFORMANCE
PRODUCT APPEARANCE
Component A: pasteComponent B: white powder
Blush: tinted powder made from mineral pigments
DENSITY A+B — AT 20°C
Component A: approximately 1.4Component B: approximately 2
Blush: depending on the colours
STORAGE AND SAFETY
1 year in its original unopened packaging, protected from sunlight and frost, at a temperature between +5°C and 35°C.For further safety information, please consult the Safety Data Sheet.
WARNING
Designed, developed and manufactured in France. All data presented in this Technical Data Sheet is provided for information purposes only and cannot incur our liability. Under no circumstances may it imply a guarantee. Tests must be carried out. This Technical Data Sheet may be modified; please ensure that this is the latest edition. This Technical Data Sheet cancels and replaces all previous versions. Furthermore, as application and application conditions are not carried out under our control, we decline all liability. For any further information regarding precautions for use and safety instructions, please consult our Marius Aurenti teams.Presentation
AREAS OF USE
Decorative coating for interior walls, designed to create a raw concrete appearance with small cavities.COMPOSITION
Cement-based plasterComponent A: paste
Component B: powder
+ Blush Mineral Colour Concentrate
PROPERTIES
Very easy application in a single coat, raw appearance, deep matt finish, with possible protection for use in public spaces.PACKAGING
7.5 kg kit — 5 kg of Component A + 2.5 kg of Component B — + 1 × 1.2 kg Blush Mineral Colour Concentrate to cover an average surface area of 5.5 m².15 kg kit — 10 kg of Component A + 5 kg of Component B — + 2 × 1.2 kg Blush Mineral Colour Concentrate to cover an average surface area of 11 m².
CONSUMPTION
1.6 kg/m² in a single coat.APPLICATION
SUBSTRATE AND SUBSTRATE PREPARATION
This coating is reserved exclusively for interior walls, excluding areas exposed to water splashes.Plaster and plasterboard, cement, aerated concrete, adherent paints and coatings.
Substrates must be mechanically sanded if necessary, sound, dry and clean — in particular free from grease stains, dust and any non-adherent parts.
Substrates are primed with Marius Aurenti Wall Primer to obtain mechanical adhesion and block the substrate.
Structured substrates and/or substrates with joints — render, bricks, concrete blocks, etc. — must be prepared with a levelling coat to prevent shadowing, then with Marius Aurenti Wall Primer.
APPLICATION CONDITIONS
| AIR AND SUBSTRATE TEMPERATURE | >5°C and <30°C — ideal temperature: >15°C and <20°C |
| RELATIVE AIR HUMIDITY | <80% |
| RELATIVE SUBSTRATE HUMIDITY | 4% maximum |
| APPLICATION OPEN TIME | 1 hour 30 minutes at 20°C |
APPLICATION TOOLS
Trowel or smoothing blade such as Parfaitliss 35 cm, or 200 mm stainless steel trowel and American knife.MIX PREPARATION
Step 1: Component B + Blush
- Roll the Component B bucket on the floor to aerate and soften the material before mixing.
- Open the Component B bucket and make a slight hollow in the centre of the base.
- Shake the BLUSH concentrate pot, open it and pour the entire contents into the hollow in the base.
- Hold the bucket in place with your feet and dry-mix the base and concentrate at low speed, using a double-turbine mixer such as Collomix. Be careful to avoid splashing material out of the bucket. Increase the speed gradually.
- Continue mixing with vertical and lateral movements, both straight and angled, to mix the contents perfectly. Pay particular attention to the edges and bottom of the pot so as not to miss these harder-to-mix areas. For the first mixes, we recommend pouring the mixed contents into a bucket of the same size to visually check the quality of the mix and remix if necessary. Mixing time must not be less than 1 minute.
Step 2: Component A + mixture
- Thoroughly homogenise Component A, then add the mixture — Component B + BLUSH concentrate.
- Mix until a homogeneous, lump-free mixture is obtained.
APPLICATION
Apply in one thick coat without trying to create a decorative effect. Leave to dry for at least 12 hours — at 20°C and 60% RH.The aim is to obtain a mass layer that will then be fully sanded with 40-grit sandpaper. During sanding, make sure not to expose the substrate.
The decorative effect is created during sanding.
After sanding, you can apply a coat of stain in the same colour as the wall concrete, adjusting the dilution to achieve the desired decorative effect.
The stain is applied using a sheepskin glove, creating irregular effects, dabbing effects and wiping effects.
Any excess can be wiped off with a clean cloth to obtain an attractive visual finish.
The concrete surface can be left raw or protected with one coat of wall protection varnish for a matt effect, or two coats for a silky matt effect. Leave to dry for at least 4 hours — at 20°C and 60% RH.
The stain application can be repeated after the first coat of varnish in order to reveal the material effects. Please note that you can also change colour and play with the contrast between the substrate colour and the stain colour. Wall concrete is a product offering a wide variety of possible effects and appearances; we recommend carrying out preliminary tests to validate the aesthetic result desired by the client.
TOOL CLEANING
Tools should be cleaned with water and an abrasive pad after use.TECHNICAL CHARACTERISTICS AND PERFORMANCE
PRODUCT APPEARANCE
Component A: pasteComponent B: white powder
Blush: tinted powder made from mineral pigments
DENSITY A+B — AT 20°C
Component A: approximately 1.4Component B: approximately 2
Blush: depending on the colours
STORAGE AND SAFETY
1 year in its original unopened packaging, protected from sunlight and frost, at a temperature between +5°C and 35°C.For further safety information, please consult the Safety Data Sheet.