Marius Aurenti · Renovating with materials

Microcement over tiles: transforming an interior

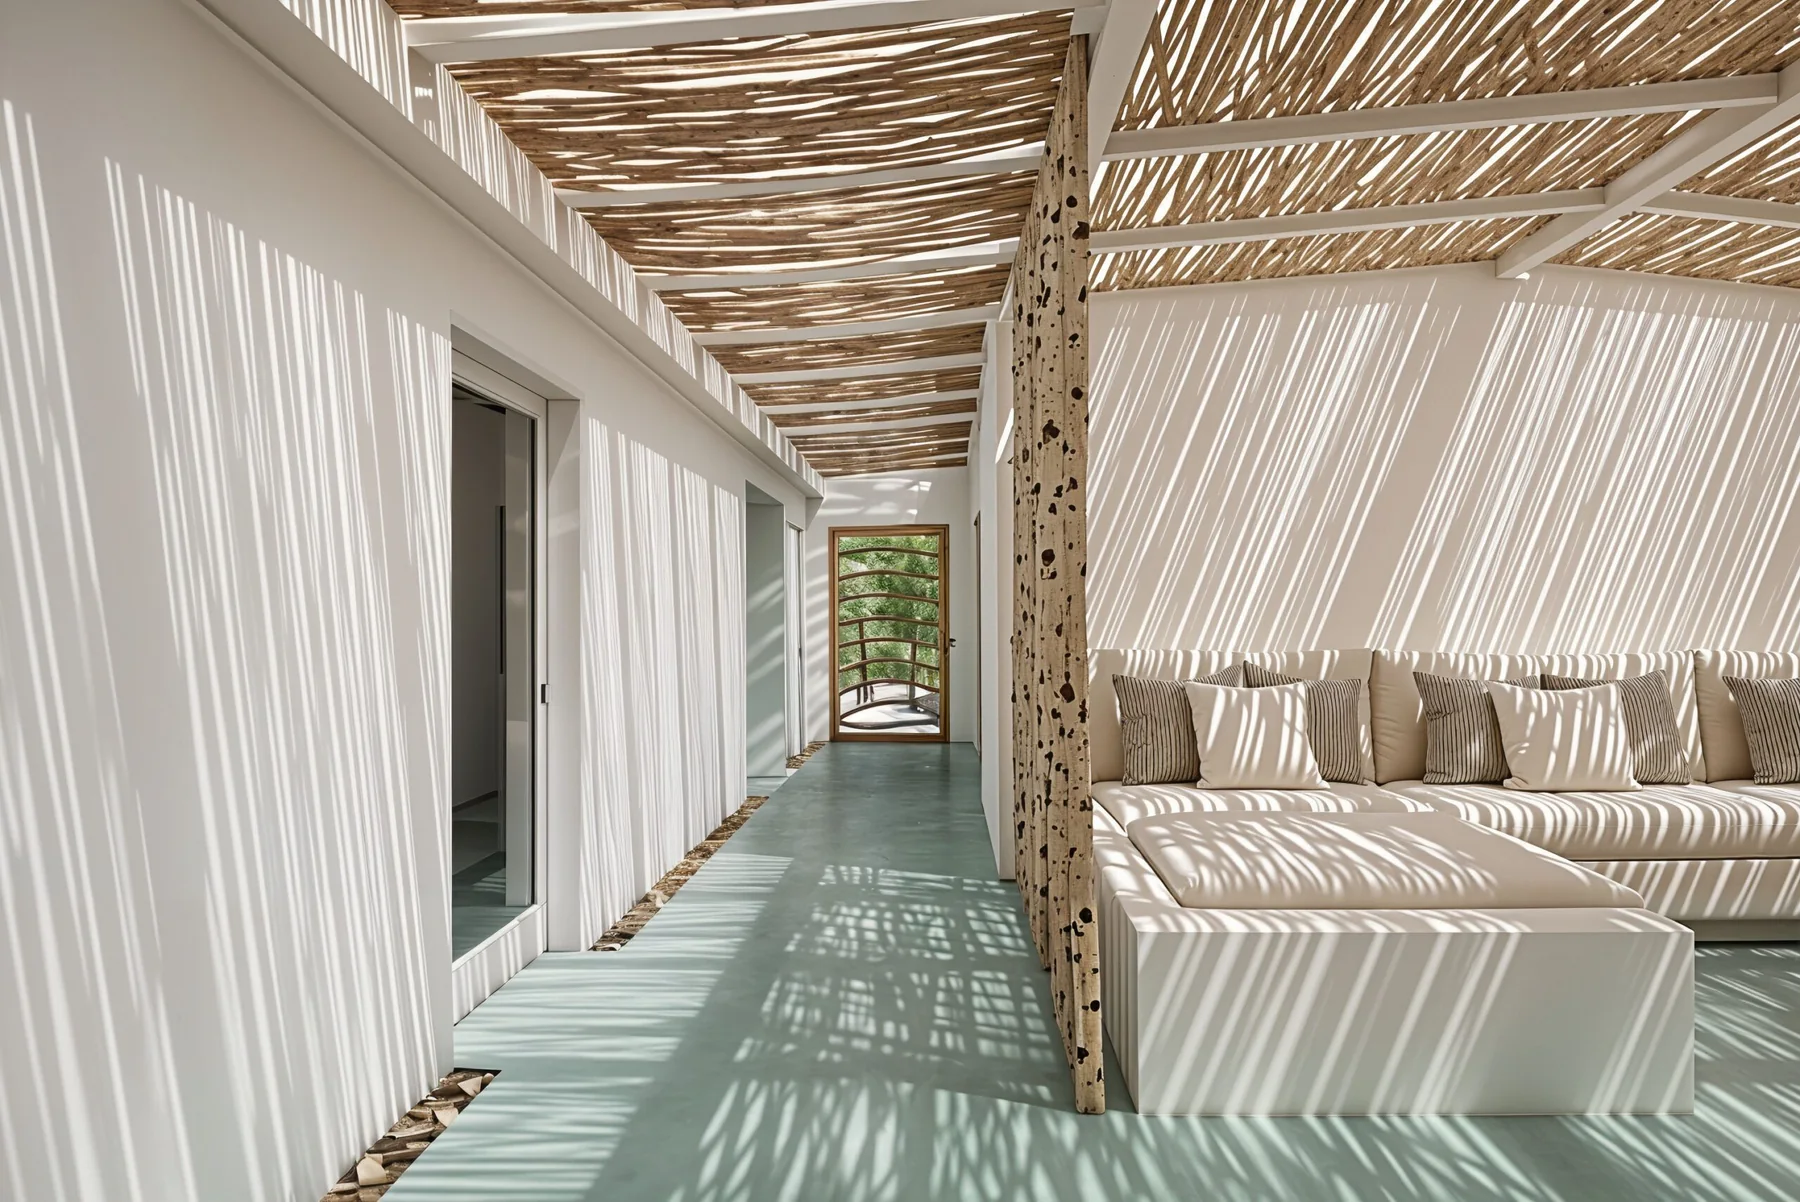
A continuous surface, mineral colour and a different quality of light, while retaining existing tiles where their condition allows.

Microcement can cover indoor tiles that are stable, firmly bonded and dry, following appropriate assessment and preparation. A successful renovation begins with the substrate.

After renovation in Clérieux: microcement floor in CordeBefore renovation in Clérieux: tiled floor
BEFORE · TILESAFTER · MICROCEMENT
Clérieux, Drôme · September 2024 · Microcement in Corde. Photographs of the same project, cropped and retouched to balance the lighting and remove marks on the wall.

Transform the space

The tiled grid gives way to visual continuity. Movement joints in the substrate remain respected.

Retain the existing surface

Where the assessment is favourable, complete tile removal can be avoided, reducing demolition waste.

Plan the next steps

Colour, protection and application are considered together, according to the room and intended use.

The Marius Aurenti approach

Why choose Marius Aurenti microcement over tiles?

A material manufactured in France, a preparation and protection system, and professional guidance to help specify the work.

A material with documented performance

Marius Aurenti microcement is manufactured in France. Measured compressive strength of 44 MPa is one of its documented technical properties. Floor performance also depends on the substrate, application and protective finish.

Discover Marius Aurenti microcement

Consider colour and protection together

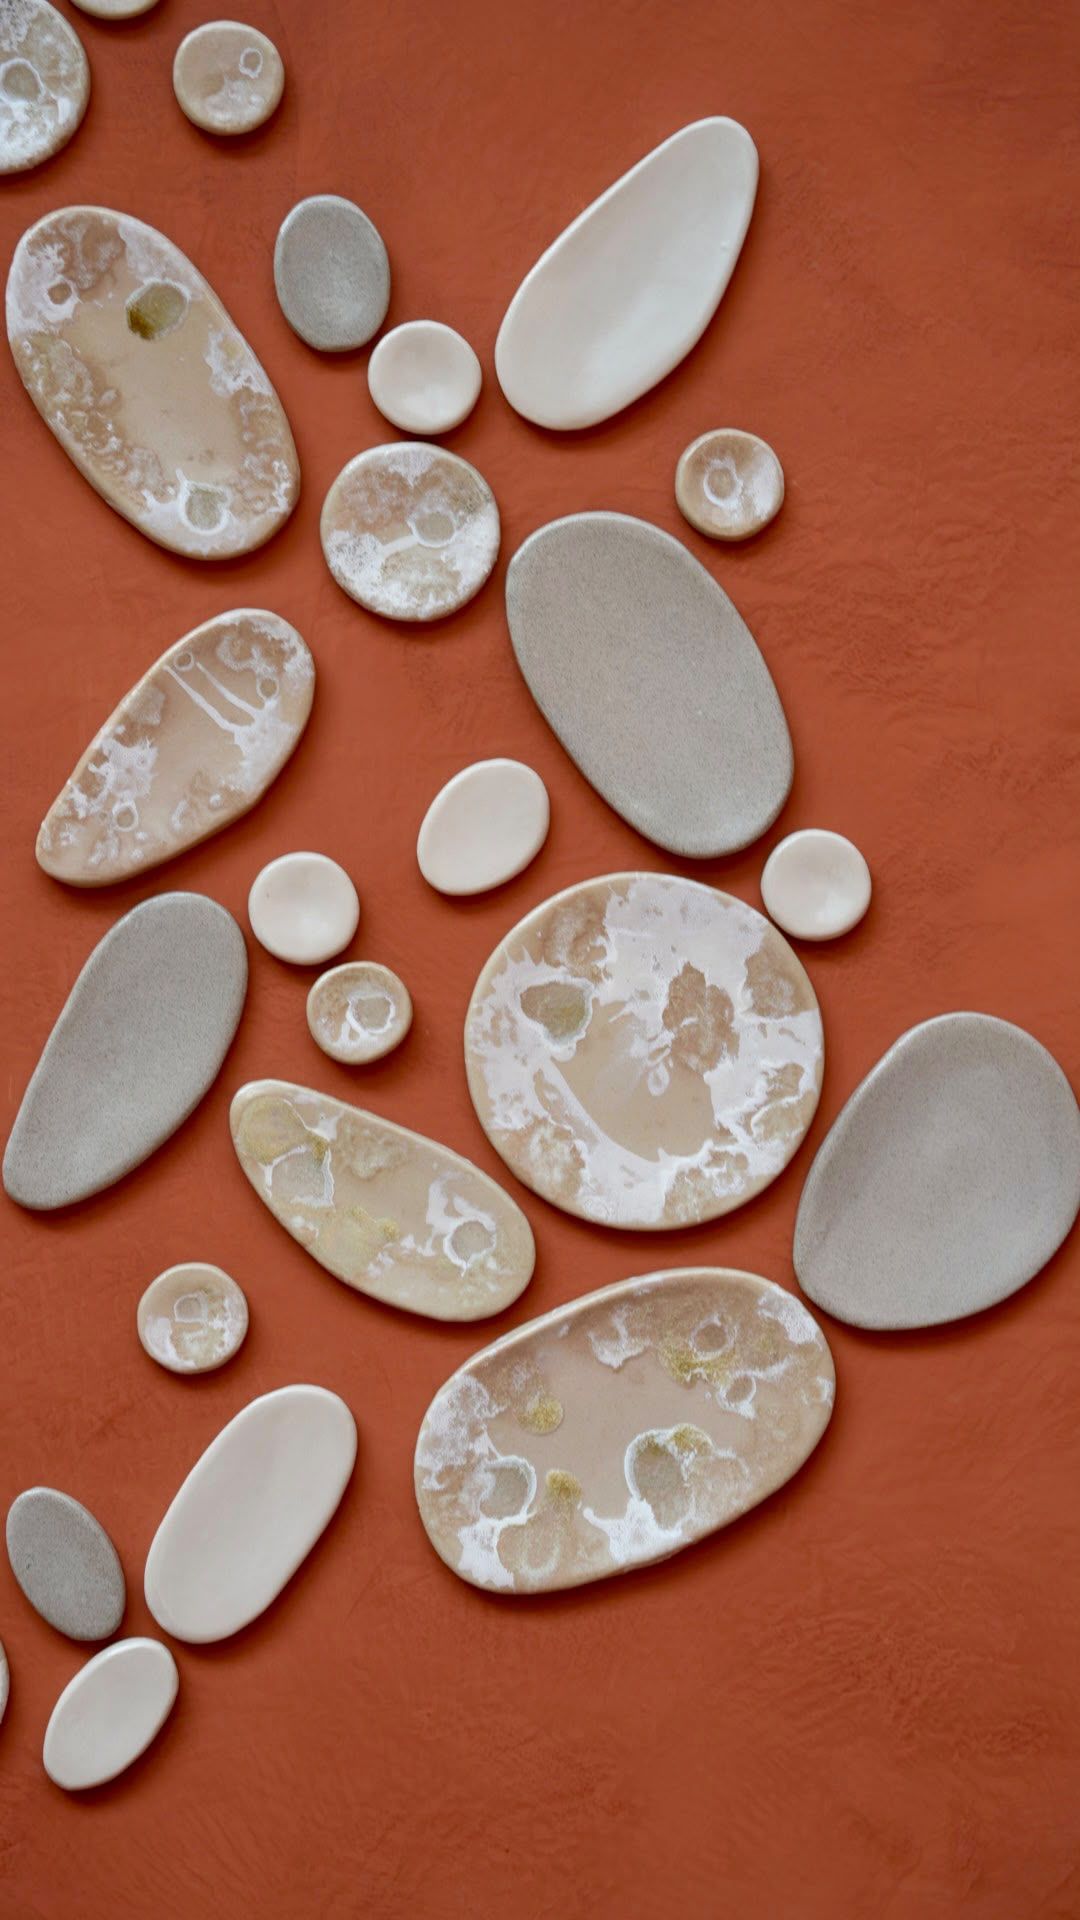
Select a shade from the IRIS colour chart, then assess a sample in the intended space. The material and finish are specified for the use of the kitchen, bathroom or living area.

Explore the IRIS colour chart

Guidance from the manufacturer

System advice, training, tutorials and referrals to an applicator help prepare a project, whether application is undertaken directly or entrusted to a professional.

Contact the export team

Marius Aurenti microcement is covered by a 15-year warranty against intrinsic cracking, subject to conditions, when applied in accordance with the specified protocols by an Artisan Qualifié Expert. This is not blanket coverage for defects in the substrate. Consult the warranty overview (in French) and request the contractual terms applicable to the project.

Assessing the substrate

Can the existing tiles receive microcement?

A few observations help prepare a technical discussion. They do not replace an on-site assessment.

Loose tiles, cracks and moisture must be examined before ordering materials.

Identify any of the following conditions:

Even where none of these signs is present, adhesion, moisture and flatness must be checked before selecting a system.

Request a quotation

The method

How is microcement applied over tiles?

Preparation establishes the base. Microcement provides the material and colour. The finish protects the surface in everyday use.

Prepare the substrate

Assess the tiles and correct defects where repair is appropriate. Prepare mechanically using a diamond grinder, vacuum thoroughly, then apply the reinforced epoxy preparation with the specified sand broadcast.

Products
EPX2 primer, sand specified for the system and reinforcing mesh.

Equipment
Diamond grinder with suitable dust extraction, mixer, measuring equipment, trowel and protective equipment.

Apply the microcement

Apply MORPHEO M700 to the prepared substrate. Follow the specified material consumption and intervals between coats, then sand and remove dust in accordance with the application protocol.

Products
The MORPHEO M700 microcement system and selected colour.

Equipment
Mixer, scales, clean buckets, trowel, sander and suitable vacuum cleaner.

Apply the protective finish

Apply the protection selected for the intended use to dry, prepared microcement. Follow the specified mixing ratios, number of coats and time before normal use.

Products
Hydrolak HL8 or IF3 impregnation, according to the selected system.

Equipment
Measuring equipment, rollers and brushes compatible with the finish, masking materials and prescribed protective equipment.

These are the main stages of application. Quantities, detailed equipment requirements and application conditions are set out in the technical data sheets and tutorials. IF3 requires the specified ventilation and protection against solvent exposure.

Watch the application steps

Surface protection

Which finish should be used to protect microcement?

Protection is applied to new, dry and prepared microcement. Selection depends on the room, expected exposure, desired appearance and application conditions.

Hydrolak HL8

A two-component, water-based polyurethane varnish with a velvet-matt finish. Application requires compliance with the specified temperature, humidity and drying conditions.

IF3 impregnation

A two-component, solvent-based polyurethane protection. Application requires suitable ventilation and protective equipment in accordance with the safety data sheet.

In a shower: microcement and its protective finish do not replace the underlying waterproofing system. Junctions, falls and waterproofing must be checked.

Compare protective finishes and technical documents

From an idea to a project

Specify the colour and microcement system

Explore colours

Explore the IRIS shades available for microcement. Lighting and the protective finish affect colour perception: assess a physical sample in the intended space before confirming a choice.

Explore colours

Request samples

Specify the tiled-floor system

Once the substrate has been assessed, contact the export team to confirm the system, quantities, accessories, availability and delivery arrangements for the destination country.

Discuss materials and availability

Obtain project guidance

For questions about the substrate, finish or application, provide the room type, surface area and photographs. The team can help define the project or identify a suitable applicator.

Request a quotation

For practical preparation before application, explore microcement training. English-language arrangements and local options are confirmed with the export team.

Microcement over tiles: frequently asked questions

Which substrates require a specific assessment?

Terracotta and old stone may have absorbed oils, waxes or black soap that interfere with adhesion. Cleaning alone may not be sufficient. Tiles laid over timber, levelling compounds, flexible layers or another tiled surface, as well as ground-bearing substrates, require a specific assessment before this system is selected.

Can tiled bathroom walls also be renovated?

Yes, following assessment and with preparation appropriate for vertical surfaces. A floor kit should not automatically be used for walls or showers: preparation, material quantities and waterproofing must be checked for the intended application.

Discuss a bathroom system

How much thickness is added above the tiles?

Distinguish the microcement layer, approximately 2 mm for this flooring system, from the epoxy preparation and any levelling work. Total thickness is established after assessment. Doors, thresholds and adjoining surfaces must be checked before work begins.

Will the tile joints show through?

The reinforced epoxy preparation is designed to prevent the tile-joint pattern from showing through. Expansion joints, contraction joints and other movement joints must not be concealed without appropriate detailing.

What budget should be allowed?

The budget depends on the surface area, substrate condition, protective finish and application. Separate the system materials from any repair work, equipment, transport and labour. A materials-only price is not the price of a supplied and installed finish.

When can the room be used again?

The programme includes substrate preparation, microcement application and protection. For HL8 and IF3 systems, allow for the curing period of up to seven days after the final coat before normal use, according to site conditions and the current technical data sheet. A surface that is dry to the touch is not necessarily ready for exposure to water.

Is it compatible with underfloor heating?

Low-temperature underfloor heating may be compatible, subject to conditions. The heating type, substrate condition and shutdown and restart procedure must be checked before application.

Can existing outdoor tiles be covered?

This application over existing outdoor tiles is not recommended. Have tile removal and preparation of a substrate suitable for the exterior system assessed.

What if many tiles are defective?

Where defects are widespread, local repairs may be insufficient. The assessment may indicate that the tiles need to be removed. Covering an active crack or a moisture problem does not resolve the underlying cause.

Can microcement crack?

Substrate stability, preparation and the correct treatment of joints are essential. The conditional non-cracking warranty for installation by an Expert applicator must be considered within its contractual scope; it never removes the need for substrate assessment.

Can a beginner carry out the application?

Preparing a tiled substrate is demanding. Practical training and a trial application are useful before committing to the work. A shower, large floor or uncertain substrate calls for support from a trained professional.

How should the surface be maintained?

Use a cleaner compatible with the protective finish, soft cleaning accessories and felt pads beneath furniture. Observe the curing period before the first cleaning, and avoid abrasives and aggressive products.

Further resources

Projects, tutorials and technical data sheets

Watch the preparation

Explore tile preparation on video and application techniques in the tutorials. The films are in French; contact the export team for guidance in English.

Watch the project video

All step-by-step videos

Explore spaces and applications

Explore applications and completed projects. Each project requires a system suited to the substrate.

Kitchens · Bathrooms · Living rooms

Explore IRIS colours